
PB-102 PG2
Supplier item link
PG2 Panic/Arm-Disarm PB-102
Item no. 119882 · Teletec
364.95 NOK · VAT basis not confirmed
Open 119882 at Teletec ↗Troubleshooting – step by step
Battery replacement and checks — step by step
3 V CR2032 · Varta
For maintenance of an installed sensor with a matching label. Arrange maintenance with the system manager and monitoring station where applicable. New installation, relocation and enrollment are installer tasks.
- Arrange testing first: pressing the button may send a real emergency alarm. Locate the coin slot at the bottom centre.
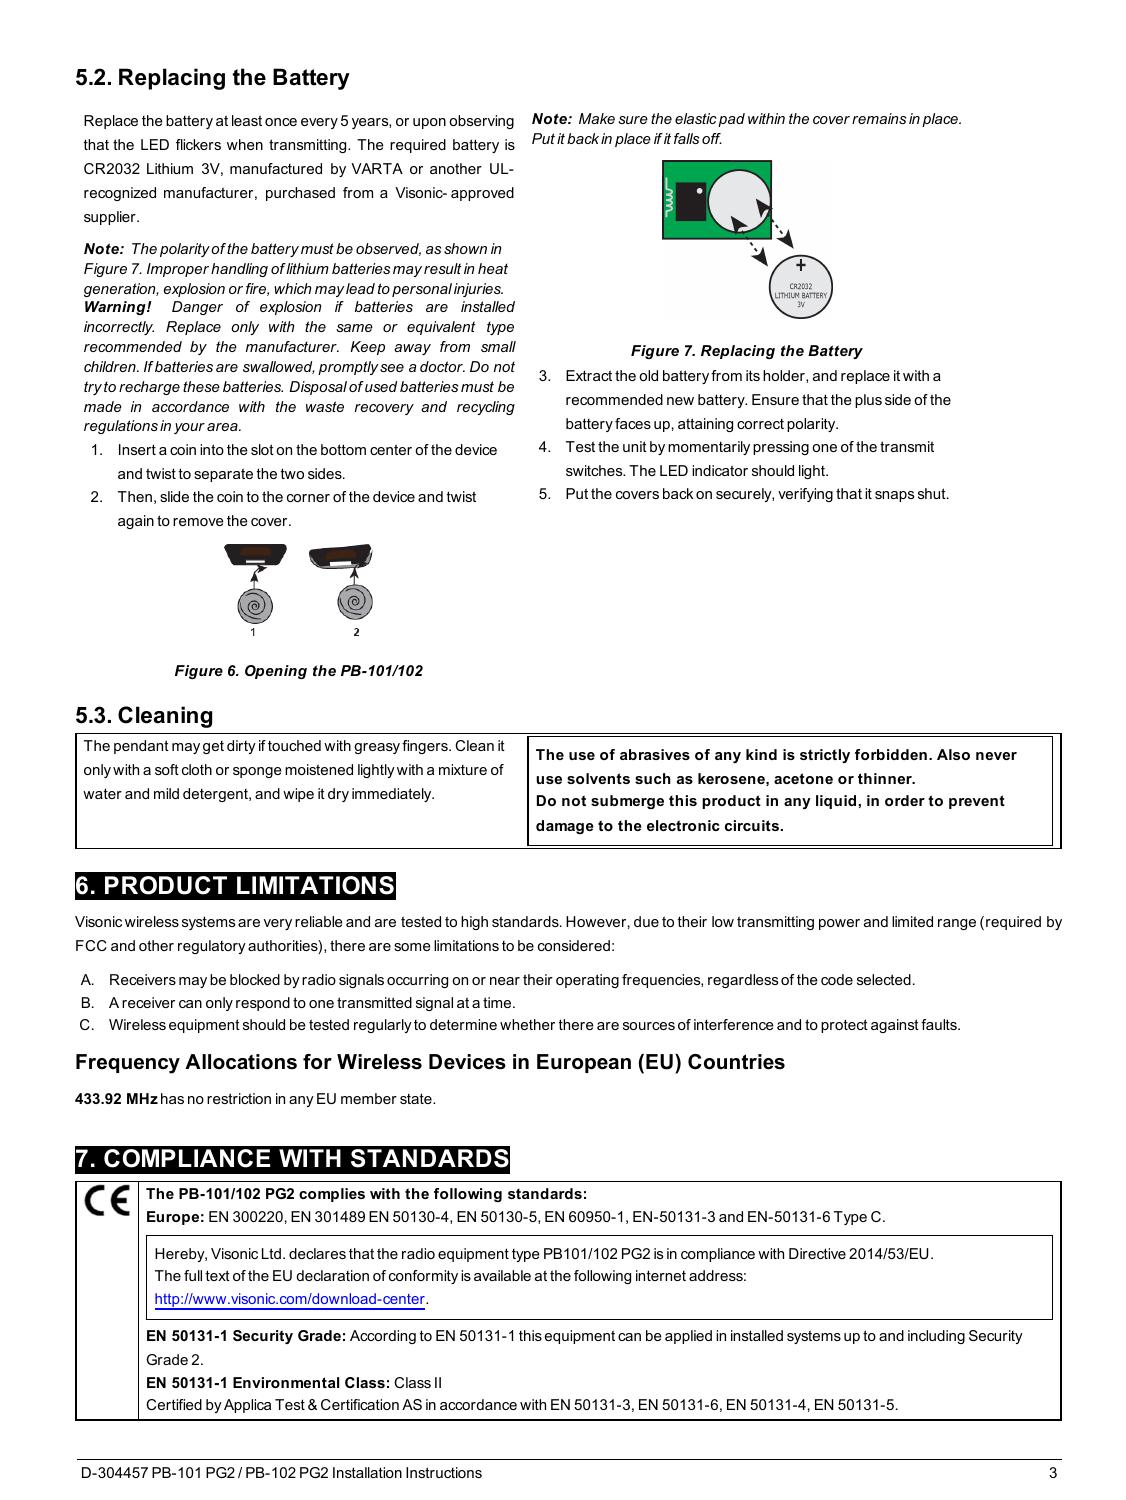
Original page with model figures. Select to enlarge. - Twist a coin in the slot. Move it to the corner and twist again to release the cover. Keep the elastic pad inside the cover in position.
- Remove the battery and insert a new CR2032 positive side up, as shown in figure 7. Keep coin cells away from children.
- Perform the agreed test press; the indicator should light. Snap the cover securely shut and confirm the intended recipient received the test.
If the check fails: check the battery type, polarity and cover. Record the fault message and contact the installer. Do not delete the sensor or disable supervision as a workaround.
Emergency button · PG2 / PowerG · Wireless link to panel
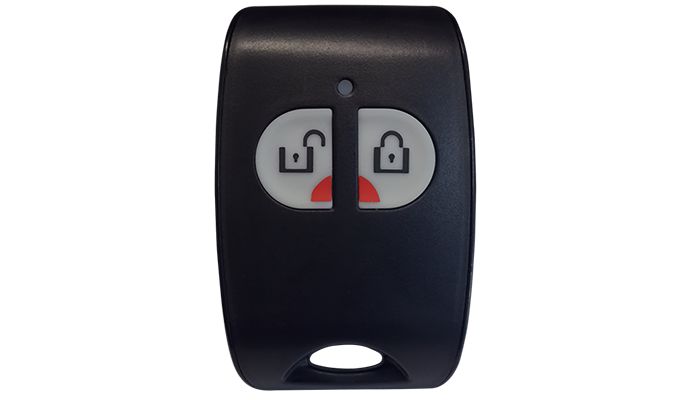
PowerG alone does not establish compatibility with your PM10 or IQ Panel. Check the exact model, frequency, panel and software.
Guides and documents
- Installation Guide English - PB-101 PG2/PB-102 PG2 Installation Guide - Original Software Version
- Data Sheet English - PB-102 PG2 Data Sheet
- Video English - Visonic Product Highlight Video
Step-by-step maintenance is provided above. A dedicated model-specific troubleshooting video has not been verified.
Supply chain and compatibility
Help when the product does not work
Choose the symptom and check the model scope before following the steps. This is troubleshooting, not a list of confirmed product defects.
PowerMaster shows NOT READY
Applies to: PowerMaster-10 G2. PG2 accessories only when fitted to this panel; not PowerG+ or IQ Panel.
- Read the display and review open zones/faults as described in the user guide. Record the zone, room and full message.
- For an open door or window message, close it fully. Look to see whether the magnet and sensor are still in place.
- Check the display again. Battery, tamper or communication faults require the named sensor manual. Do not replace the panel battery because of a sensor fault.
- When the panel is ready, use normal arming. Do not bypass an unknown zone or force arm to remove the warning.
Check the result: The panel shows READY with no unresolved fault and normal control works.
Stop and get help: If the zone remains open or the fault concerns communication/tamper, contact support with the zone and sensor model.