
KeyPad
Supplier item link
Select the correct item number if the supplier displays several variants on the same product page. Price snapshot from 9 September 2026.Troubleshooting – step by step
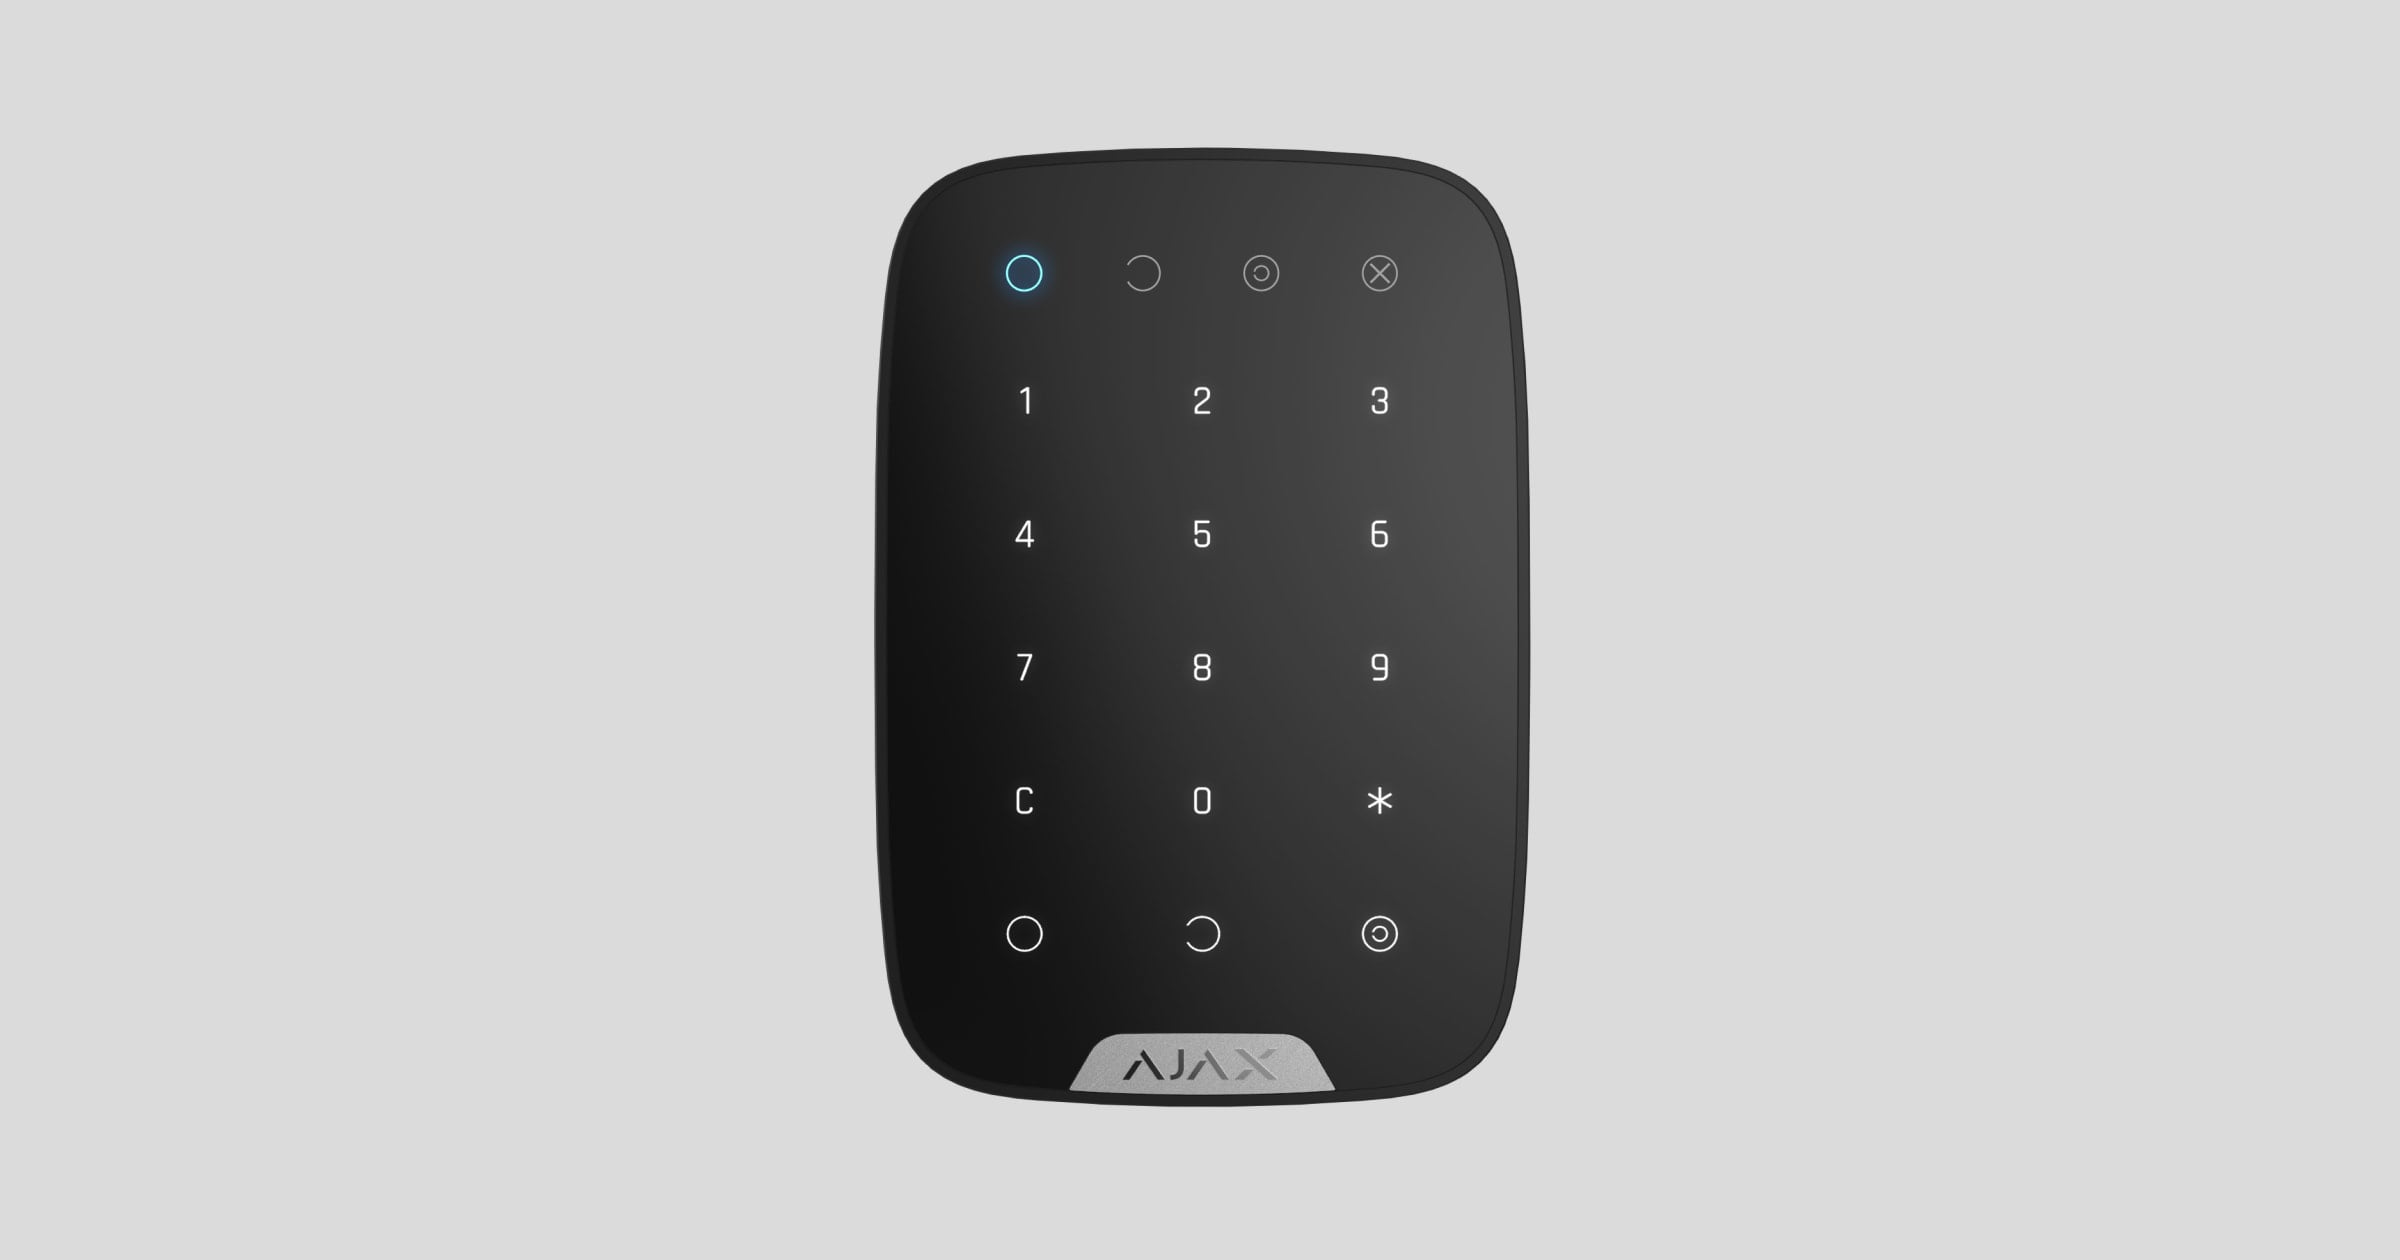
Touch panel for alarm control with code.
Wireless · Jeweller
Elotec article number and purchase price: not retrievedColor, frequency and availability must be confirmed.
Use and Maintenance
Arrange maintenance and any test with the monitoring station before opening equipment. Note the model and location. Opening a device may trigger tamper even when the intrusion alarm is disarmed.
Batteribytte: 4 × AAA, 1,5 V – se anbefalt kjemi i kilden
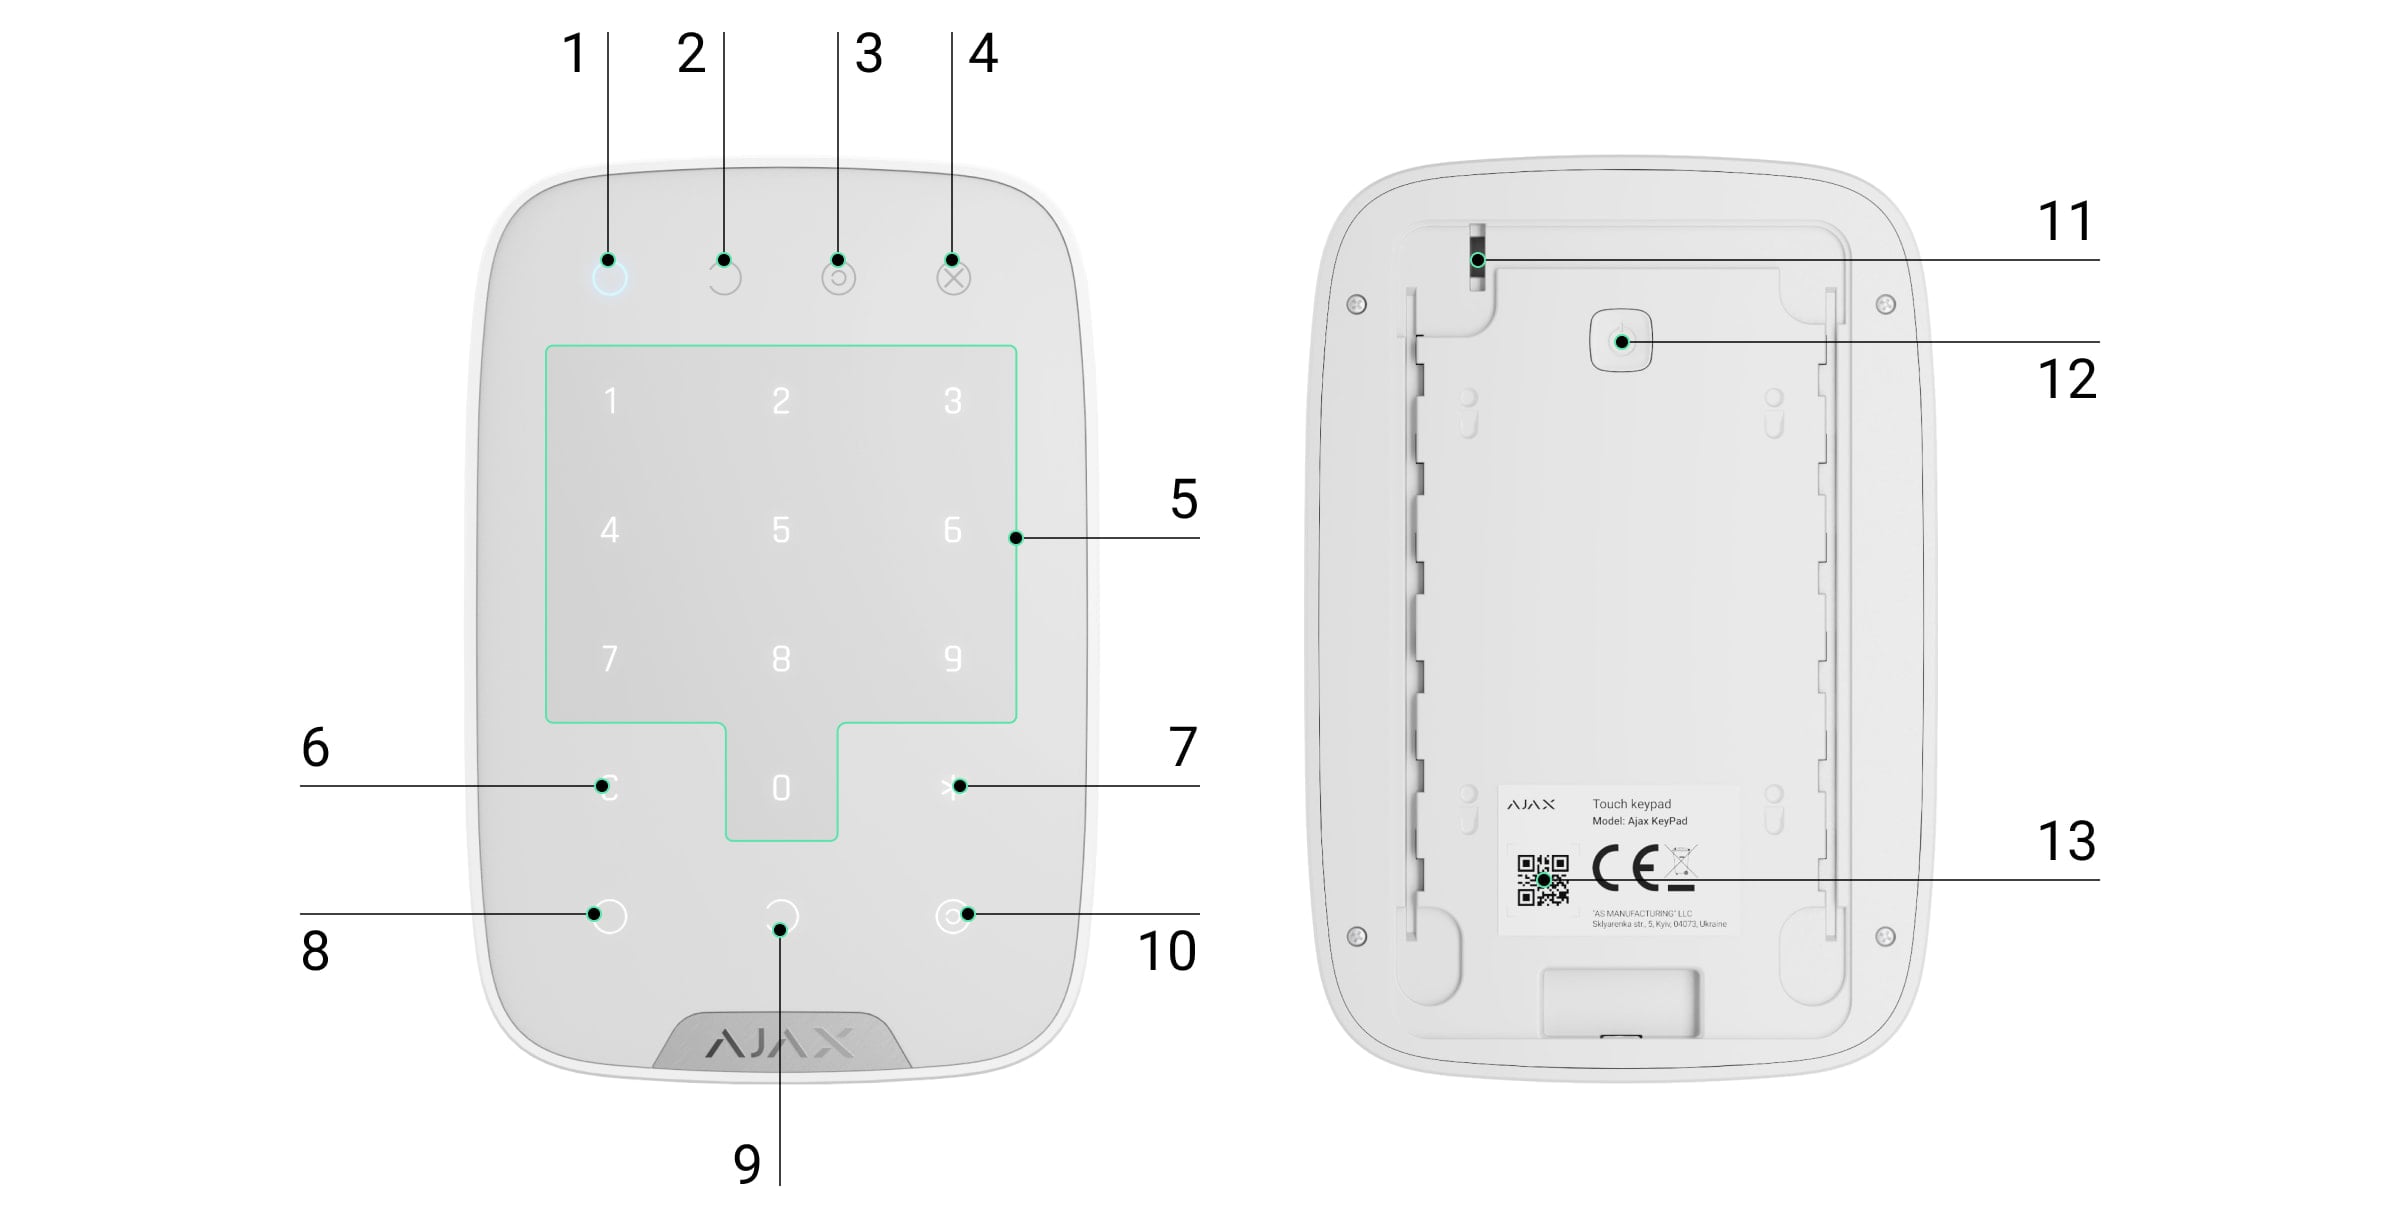
- Loosen the retaining screw and slide KeyPad off SmartBracket. Switch it off.
- Loosen the screws and open the back cover.
- Insert four new AAA batteries with the correct polarity.
- Close the cover, tighten the screws and switch on. Refit to SmartBracket and secure the locking screw.
- Check battery status and arrange an arming/disarming test.
Use new, undamaged batteries. Do not mix new and old. Keep button cells unavailable for children. Battery status may take some time to update.
Original battery guide for this model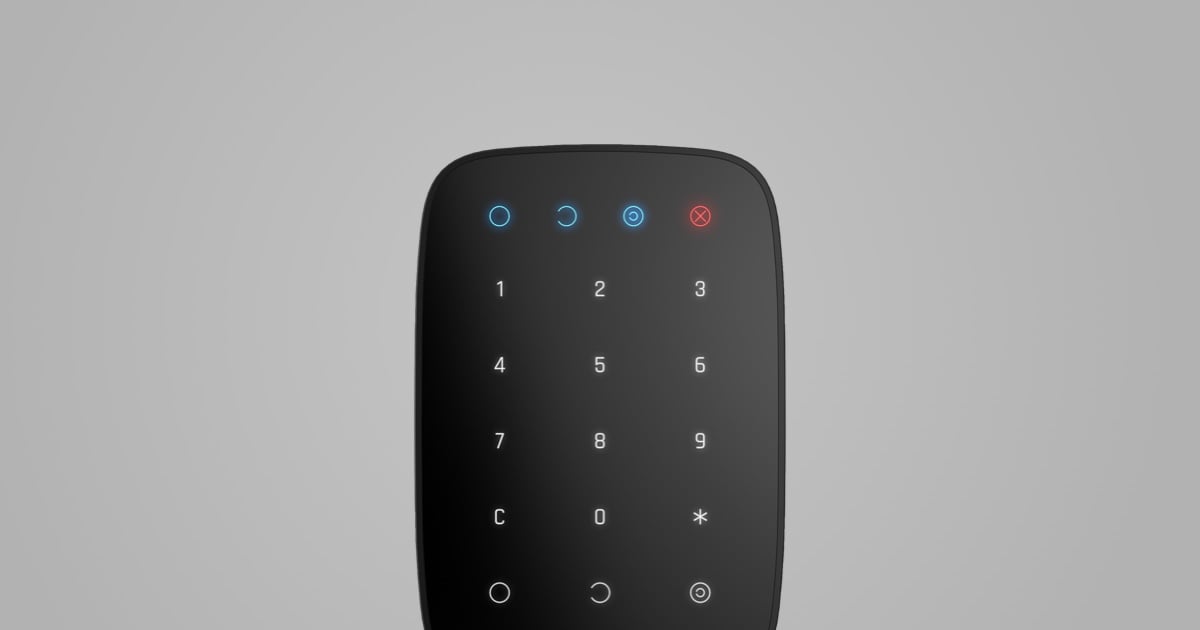
Use only the agreed function and your assigned code. Check confirmed alarm status after operation; a pressure alone does not confirm that the central has received the command.
For installer: location and installation
- Check the exact model, panel, region and connection type.
- Open the original manual's location and installation section below.
- Follow the model's illustrations for mounting, wiring and tamper protection.
- Complete the relevant signal and functional tests before handover.

Documents and missing
- User guide
Norwegian maintenance summary. Not a complete replacement for the original manual.
- Originalmanual / installasjon
Model-specific original manual with illustrations.
- Tekniske spesifikasjoner
Online specifications. Check variant and region; separate datasheet-PDF is not verified.
- Produsent
Ajax Systems.
- Elotec
Suppliers provided by the Safety Group. Model Elotec article, product link and price have not been verified.
- Videos and software
General training channel. Model-specific film and own software connection are not verified.
Help when the product does not work
Choose the symptom and check the model scope before following the steps. This is troubleshooting, not a list of confirmed product defects.
KeyPad beeps or does not accept a command
Applies to: KeyPad Jeweller. Audible alerts depend on firmware and hub; not KeyPad Plus/TouchScreen.
- Select KeyPad in the app device list. Read connection and battery status before interpreting beeps.
- On supported versions, two short beeps and two X flashes each minute indicate no connection; three beeps and three flashes indicate low battery. Older versions can behave differently.
- For low battery, use the KeyPad battery guide on this page. For a disconnected device, check whether the hub is also offline and note when the connection failed.
Check the result: The app shows normal battery and connection states and an agreed control test succeeds.
Stop and get help: Contact the installer if the fault persists. Do not repeatedly try unknown PINs or delete the keypad from the system.
App reports tamper / enclosure open
Applies to: Ajax device with tamper monitoring; only if the app shows Enclosure / Tamper
- Open Devices in the Ajax app, select the named device and read its enclosure/tamper state. Confirm the room and device.
- Look for a loose cover or mounting bracket, or recent removal. Do not open the device just to check the alert.
- If recently refitted, use the model mounting guide to seat it correctly. Arrange any opening with the monitoring service first.
- Check the app state after refitting. An old event in the log is not the same as an active fault.
Check the result: The current enclosure state is normal/closed.
Stop and get help: For a damaged bracket or persistent alert, contact the installer. Do not disable tamper monitoring to hide the fault.